All website
Workflow Guide
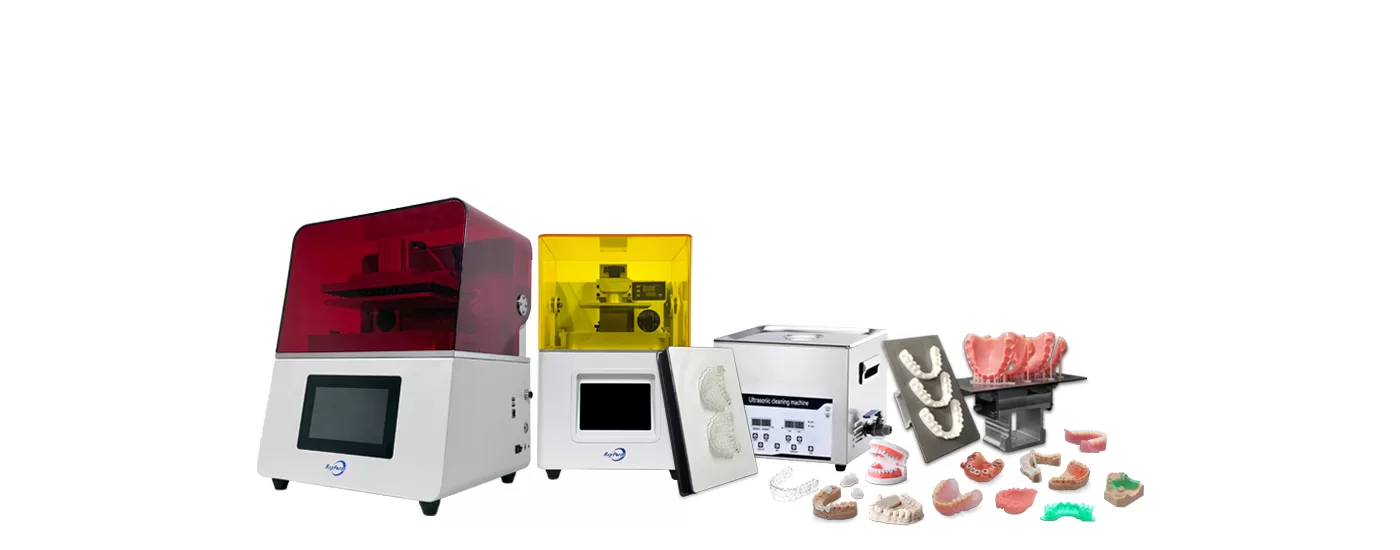
In the dental manufacturing industry, dental clinics collect patient data and efficiently schedule the production of dental braces, providing patients with a faster experience. RayForm offers related products for 4D clear aligner and other dental solutions, helping dentists efficiently 3D print the finished products and improving the success rate.
Here, we will introduce to you the entire process of the dental clinic manufacturing 4D clear aligner appliances, from data acquisition to printing dental products, and delivering the 4D clear aligner appliances to patients.
Rayform has developed a series of dental 3D printing resins with cost-effectiveness and high performance, which are fully compatible with various brands of 3D printers on the market. They can meet the printing needs of dental models in various scenarios for dentists.
Rayform has developed an efficient and rapid dental 3D printer based on the application requirements of dental clinics. It is combined with RayForm’s high-performance polymer resin. It can meet the model printing needs of dental clinics in various scenarios.
1.1, 4D Clear Aligner Model Design
Based on the data obtained through scanning, the dentist formulates the treatment plan and obtains a 4D clear orthodontic model(Format: STL or OBJ). Here, software demo by CHITUBOX Basic. Other 3D printer manufacturers’ slicing software can also be used for operation.
1.2, Model Slicing Export Format
Based on the selected 3D printer device, set the printing parameters, click “Slice” to generate the 3D printer working file, and then import it into the printing device via a USB flash drive.
Note: The 3D printer used should be consistent with the selected software.
1.3, Desktop Dental 3D Printing Preparation
Before using resin materials that have been left standing for a long time, please check if the packaging is intact. Then, rotate, invert and shake it to ensure that the resin polymer materials are fully mixed.
Note: Any resin, especially those with color, it is recommended to shake it upside down before use to ensure uniform color without any deviation.
1.4, 3D Printer Settings and Prepare for Printing
Here, 3D printer demo by RayForm Dental 4K LCD 3D Printer. RayForm 4D Clear Aligner Resin was poured into the material tank and amount should be within the range between the mini and max lines(or 250ml). Use the provided resin wiper to stir the resin before printing.
Note: During winter or when the temperature is too low, it is recommended to heat the resin to 25°C.
1.5, Start 3D printing of 4D Clear Aligner Model
Make sure the printing platform is clean, dry and firmly placed. Click “Print”, and then the required time and progress will be displayed. The 3D printer has started working.
1.6, Successfully Printed, Obtained the Model
Printing is complete. You will obtain the desired 4D clear aligner model and effects.
Note: The 4D clear aligner treatment need about 180 minutes, while other dental molds take about 40 ~ 60 minutes.
2.1, Inspect Work and Clean Platform
Check if the platform product is complete, then clean the resin on the platform surface to facilitate recycling and save materials.
Note: Always wear safety goggles and nitrile gloves to avoid contact injury to the eyes/skin when the resin is uncured.
2.2, Removing the Printed Models
Use a scraper or a shovel to remove the 3D printed model from its bottom. Place the tool steadily on the bottom of the rear end of the model and gently rotate it left and right.
2.3, Isopropyl Alcohol Cleaning
Put the 4D clear aligner into the ultrasonic cleaning machine filled with isopropyl alcohol and clean them for 3 – 6 minutes.
Note: Please clean it with pure and clear isopropyl alcohol. Avoid contamination with impurities
2.4, UV Light Post-Curing
Here, UV light curing equipment with 13000uw/cm² is used for curing treatment for 60 minutes.
Note: The curing time can be adjusted according to the intensity of light. The stronger the light, the shorter the curing time.
2.5, Support Removal
Use tools such as stainless steel crown scissors to remove the support of the 4D Clear Aligner.
2.6, Polish Smooth
The purpose of sanding is to make the edges of the braces smoother. You can use fine sandpaper or a polishing wheel to remove any residue or sharp edges/points.
2.7, Got 4D Clear Aligner
The dentist got the 4D clear aligner and distributes them to the patient according to the information on the packaging.
Process Engineer Tips:
1, When using 3D printing materials, it is necessary to wear surgical mask and nitrile gloves to avoid direct contact with the human body.
2, It is better to have a dark background for better detection and easy checking of the edges.
3, When dismantling supports and sanding edges, wear safety goggles and a mask to prevent debris from entering your eyes.
4, Do not frequently open the lid during the operation of the 3D printer.
5, If printing fails, you can check or replace the optical release film try again.
6, If you encounter any problems, please contact us immediately. We will do our best to assist you.
RayForm offers customers the most comprehensive services, ranging from fully compatible material development support to equipment automation solutions, making it easier for customers to achieve efficient and successful printing.
This website uses cookies to improve your browsing experience. By continuing to use this site, you accept the use of our cookies. Data collected from this website is processed and stored in the United States.
More


